
Best Welding Helmets for Beginners: Features, Safety, and Top Picks
A welding helmet is one of the most important pieces of personal protective equipment in a beginner’s setup. It must protect your eyes and face from the intense visible light, ultraviolet radiation, infrared radiation, sparks, and hot spatter produced during welding. The most expensive helmet is not automatically the best choice, however. A suitable beginner model should be correctly certified, easy to adjust, compatible with the welding processes you plan to use, and comfortable enough that you will keep it properly positioned throughout the job.
What Beginners Should Look for in a Welding Helmet
Start by checking the helmet’s safety markings rather than choosing based only on appearance or advertised lens size. In the United States, look for compliance with ANSI Z87.1 where applicable; Canadian shoppers may also want to check CSA Z94.3 certification. European products may use EN 175 for the helmet and EN 379 for the automatic filter. The markings should be clearly printed on the product or in its documentation, not merely mentioned in an unverified listing.
For most beginners, an auto-darkening filter is the most convenient option. The lens remains light while you position the torch or electrode, then darkens when the arc starts. This reduces the need to repeatedly lift and lower the helmet, which can help beginners maintain their position and avoid starting a weld with the helmet raised. Look for adjustable sensitivity, darkness, and delay controls so the helmet can be adapted to different materials, processes, and lighting conditions.
A passive helmet uses a fixed dark lens, commonly shade 10 for general-purpose work, although the correct shade depends on the process and amperage. Passive helmets are straightforward, durable, and often less expensive. Their main drawback is that you cannot see clearly through the dark lens before striking the arc, so beginners may need more practice positioning the work and electrode accurately.
Auto-Darkening Versus Passive Welding Helmets
Auto-darkening helmets are usually the better all-around choice for a new welder who expects to use MIG, TIG, or stick welding. They offer a clear state for setup and a dark state for welding, with switching speed commonly measured in fractions of a millisecond. A faster switching specification can be useful, but it should not replace checking certification, optical quality, and sensor reliability. A helmet with four sensors may detect an arc more consistently in awkward positions than one with fewer sensors, though sensor layout and product quality matter as much as the number.
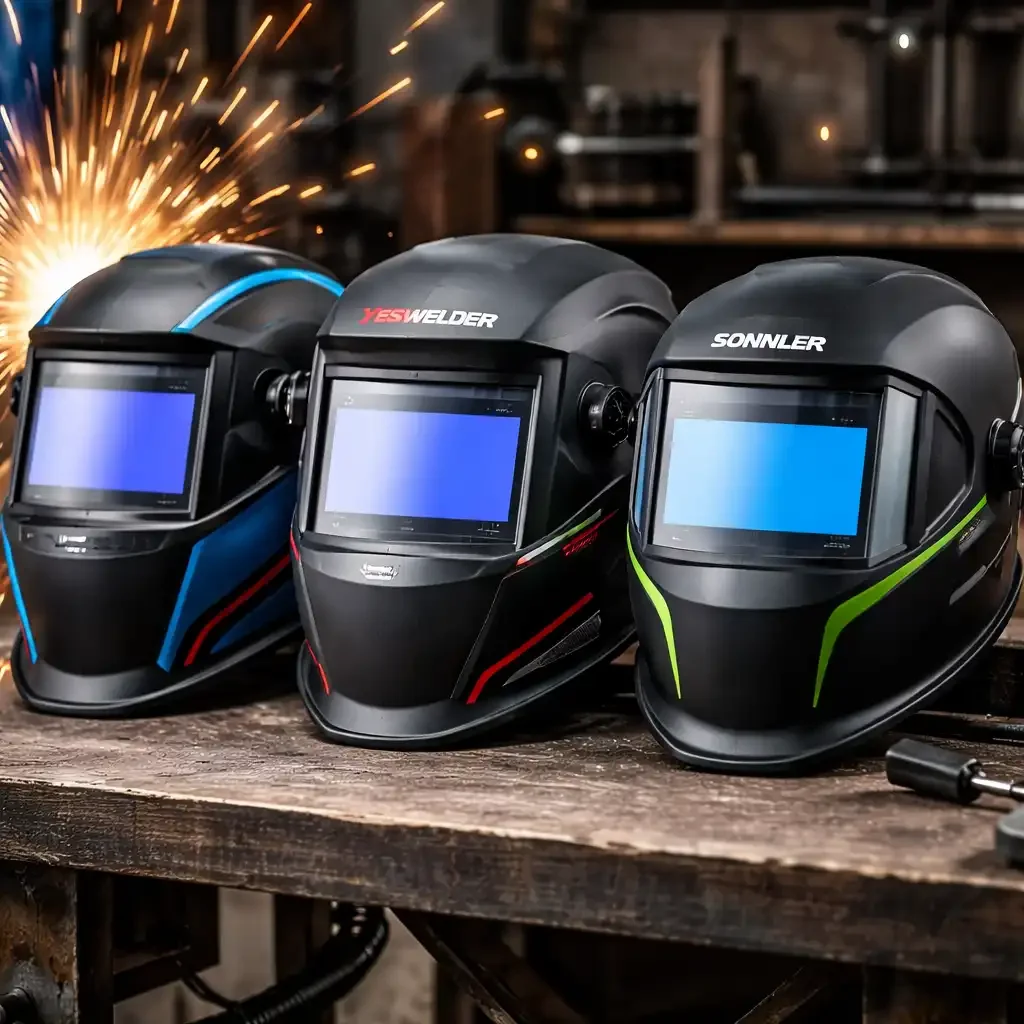
Power options also deserve attention. Some helmets use replaceable batteries, some use rechargeable cells, and others advertise solar powered auto darkening. Solar-assisted models can reduce battery changes, but they still need a dependable backup power source or clearly stated operating procedure. Check how the helmet behaves when the battery is low, whether the battery is replaceable, and whether storage requirements affect the filter. Never weld if the lens is flickering, fails to darken reliably, or shows visible damage.
A passive helmet can make sense for occasional stick welding, training environments, or users who prefer a simple design. It is also a useful backup if its lens is in good condition and the shade is appropriate. Whichever type you choose, do not remove the helmet to inspect a weld while the arc is active. Wait for the workpiece to cool enough for safe inspection and use proper eye protection underneath when required.
Best Welding Helmets for MIG, TIG, and Stick Welding
MIG welding is often the most forgiving starting point, but it still produces intense arc light and spatter. Choose a helmet with adjustable shade and sensitivity, especially if you will move between thin sheet metal and heavier work. A broad viewing area helps you monitor the puddle, wire position, and surrounding joint without constantly moving your head.
TIG welding demands more from a helmet because the arc can be relatively small and bright, particularly at lower amperage. A model with a low-amperage rating, good optical clarity, and reliable sensitivity adjustment is preferable. If the filter is difficult to trigger during low-current TIG work, the lens may remain too light or switch inconsistently. Confirm the manufacturer’s stated TIG range instead of assuming that every auto-darkening helmet is equally suitable.
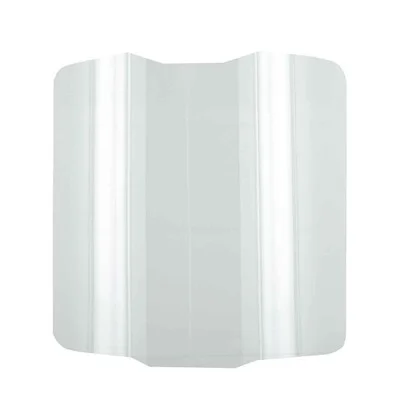
Stick welding tends to create more spatter and smoke, so a helmet with a durable outer cover lens is practical. The cover lens protects the filter from scratches, pitting, and residue, and it should be easy to replace. Keep a compatible replacement lens available because a damaged cover can reduce visibility and encourage unsafe workarounds. For all three processes, select the shade from a recognized welding shade chart based on process and amperage, then follow the helmet and welding-machine instructions.
Comfort, Lens Shade, and Viewing Area Considerations
A helmet that fits poorly can become a safety problem. Look for a headgear system with a smooth tightening adjustment, a stable crown strap, and enough range to fit over any required hearing protection or head covering. The helmet should stay in place when you nod or lean forward without pressing painfully against your forehead. Weight distribution matters too: a slightly heavier shell can feel comfortable if it is balanced, while a lighter helmet can still strain your neck if the filter sits far from your face.
Viewing area is more important than headline magnification claims for most beginners. A larger window can make joint alignment and puddle observation easier, but it may add weight and cost. Side windows can improve peripheral awareness, although they must provide appropriate protection and may not suit every work environment. Inspect the lens for distortion, uneven tint, and visible defects before use. If you wear prescription glasses, confirm that they fit comfortably inside the shell and do not interfere with the headgear.
Recommended products
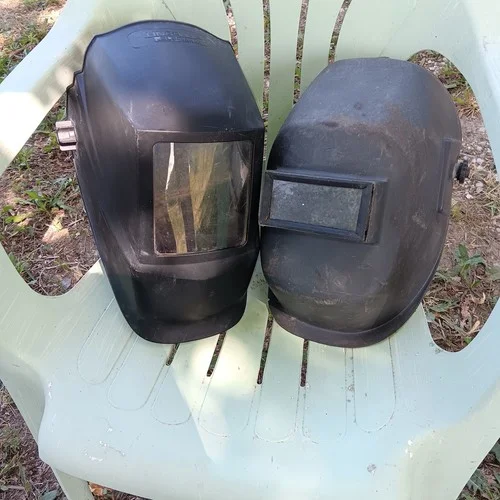
Use these catalog picks as a shortlist for best welding helmets for beginners: features, safety, and top picks. Compare measurements, materials, and return terms side by side instead of buying from a photo alone.

Shade selection should never be based on comfort alone. If the arc appears painfully bright, increase protection and review the recommended setting for the process and amperage. Do not use a darker lens as a substitute for correct welding technique, ventilation, or a proper work setup. Safety glasses with side shields should generally be worn beneath the helmet to protect against particles when the helmet is raised, while suitable clothing, gloves, hearing protection, and ventilation address other hazards.
How to Compare Beginner Welding Helmet Picks
When comparing the two catalog picks on this page, use the same criteria for both: certification markings, shade range, switching speed, low-amperage TIG performance, viewing area, sensor coverage, power design, weight, warranty, and replacement-part availability. The main advantage of a feature-rich model may be easier setup and broader process coverage, while the tradeoff can be higher cost, more controls to learn, or greater weight. A simpler pick may be easier to maintain and less expensive, but it may offer fewer adjustments or a smaller viewing window. Treat price as one factor rather than proof of safety or optical quality.
Names such as LEXPON, Antra, and MILLER ELECTRIC may appear across beginner and professional-oriented helmet ranges, but the brand name should not replace model-by-model comparison. Check the exact filter specifications, included cover lenses, battery type, and certification for the particular helmet being considered. Accessories and replacement parts can vary substantially even within one brand.
Safety Checks Before Buying a Beginner Welding Helmet
Before purchasing, confirm that the product has clear certification information, a stated operating temperature range, and instructions that explain shade, sensitivity, and delay controls. Check whether the outer and inner cover lenses are standard sizes or proprietary parts, and find out how easily a replacement lens can be obtained. A helmet that becomes unusable because a scratched cover is difficult to replace may cost more over time.
After delivery, inspect the shell, lens, headgear, adjustment knobs, and battery compartment before welding. Test the auto-darkening function according to the instructions, but do not look directly at an arc to test it. Make sure the filter returns to its light state when the arc stops and does not flicker during normal operation. Clean the cover lens with a suitable soft cloth rather than abrasive materials, and replace it when it is cracked, deeply scratched, or badly pitted.
Finally, remember that a welding helmet protects the face and eyes from arc-related hazards but does not make the entire work area safe. Use adequate ventilation, remove flammable materials, secure the workpiece, inspect cables and connections, and follow the welding machine’s instructions. For a beginner, the best helmet is the one with verified protection, dependable controls, a comfortable fit, and specifications that match the processes you will actually perform.
FAQ: Best Welding Helmets for Beginners: Features, Safety, and Top Picks
What should a beginner look for in a welding helmet?+
Choose a helmet with an appropriate adjustable shade range, reliable auto-darkening or a properly rated passive lens, and a comfortable fit. A wide viewing area, adjustable sensitivity and delay controls, and a secure headgear system can make MIG, TIG, and stick welding easier to manage.
Are auto-darkening welding helmets better for beginners than passive helmets?+
Auto-darkening helmets let you see the workpiece before striking an arc and darken when welding starts, which many beginners find more convenient. Passive helmets are simpler and often less expensive, but they require lifting or repositioning the helmet to view the joint and should have the correct fixed shade for the process.
What welding helmet shade should a beginner use for MIG, TIG, and stick welding?+
The correct shade depends on the welding process, amperage, and applicable safety guidance, so use the lens chart provided by the helmet manufacturer and welding equipment documentation. Select a helmet with enough shade range for the amperage you expect to use rather than choosing based only on price or appearance.
What makes a welding helmet comfortable for long projects?+
Look for balanced weight, adjustable headgear, a smooth tightening mechanism, and enough interior space for safety glasses or other required protective equipment. A larger viewing area can improve visibility, while replaceable lens covers help keep the view clear from spatter and scratches.
How can I check whether a beginner welding helmet is safe to buy?+
Verify that the helmet and lens meet the safety standards required in your location, and check the manufacturer’s markings, shade range, switching specifications, and instructions. Before welding, inspect the lens for cracks or damage, confirm the auto-darkening function and batteries if applicable, and wear the rest of the required protective gear.