How to Choose the Right Welding Helmet Lens Shade
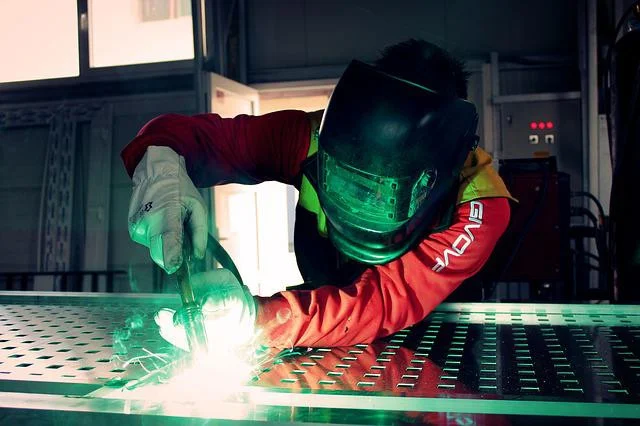
The correct lens shade protects your eyes from the intense visible light and ultraviolet and infrared radiation produced by welding and cutting. A shade that is too light can expose your eyes to unnecessary radiation and glare, while a shade that is too dark may make it difficult to see the joint, puddle, or electrode. The best choice for welding helmets is therefore not simply the darkest lens available. It is the lightest shade that gives adequate protection while allowing you to see the work clearly and control the process.
Understanding Welding Helmet Shade Numbers
Lens shade numbers indicate how much light the filter allows through. Lower numbers are lighter and higher numbers are darker. Many welding helmets use a scale that begins around shade 3 or 4 for the light state and increases to shade 13 or 14 for intense arc work. The shade number is not a measure of lens quality, and a higher number is not automatically safer for every task. The filter must be rated for the process and output you are using.
Always begin with the shade range recommended by the helmet manufacturer, the equipment instructions, and applicable workplace safety requirements. ANSI Z87.1-rated eye and face protection is a useful baseline in the United States, but the rating alone does not tell you which operating shade to select. Helmet markings, welding machine guidance, and current-based shade charts should be considered together. Your helmet also needs suitable side protection, a properly fitted shell, and a clear cover lens that is free of deep scratches or welding spatter.
A traditional Glass filter can provide a consistent shade and does not depend on batteries or electronic sensors. It may suit a fixed process performed at a steady output, although changing from grinding or setup to welding requires lifting the helmet or using another viewing arrangement. Modern electronic filters can switch between light and dark states, but they still need the correct dark-state setting for the work.
Recommended Shades for MIG, TIG, Stick, and Plasma Cutting
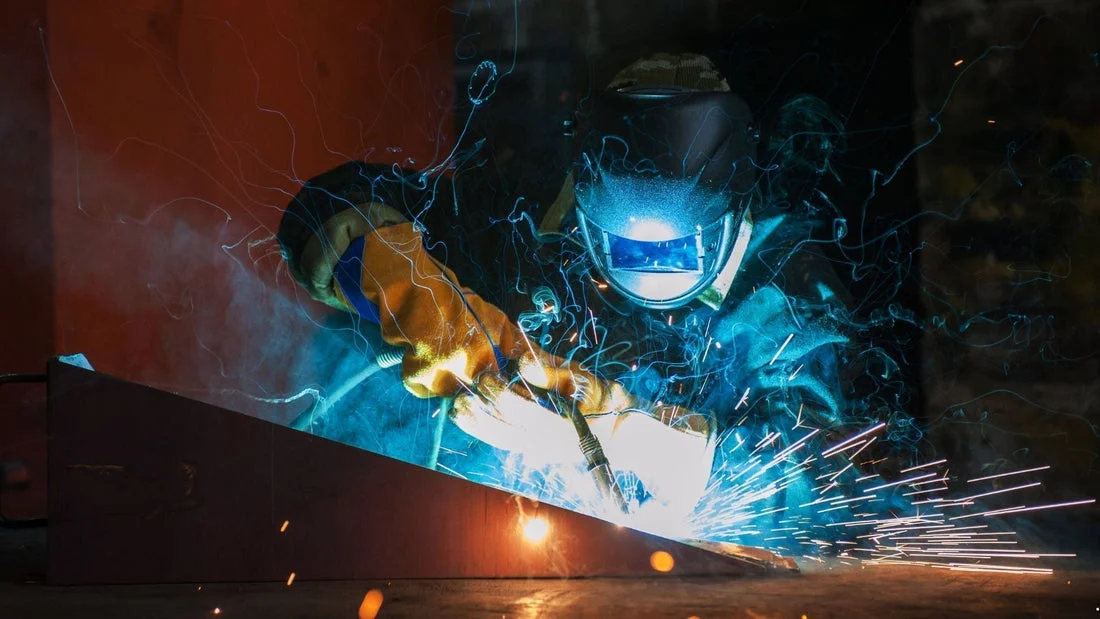
For MIG welding, a shade around 10 to 13 is commonly used, with the appropriate setting depending on amperage, wire type, transfer mode, and material. Lower-current short-circuit work may need less darkness than high-current spray transfer. Bright aluminum work and processes that create a broad, intense arc often require careful adjustment toward the darker end of the permitted range.
TIG welding can require particular attention because the arc may be small and precise but remains intense, especially at higher amperages. A shade around 8 to 13 is commonly encountered. Low-current TIG work may be easier to see through a lighter approved shade, while high-current aluminum or stainless steel work generally calls for a darker setting. Do not choose a lighter shade simply because the weld pool is difficult to see; improve visibility with correct lighting, a clean cover lens, and suitable magnification instead.
For stick welding, shade 8 to 13 is a common working range. The exact choice depends on electrode diameter, amperage, and the arc characteristics of the electrode. A small low-current electrode may not require the same shade as a large electrode operated at high current. Stick welding also produces more smoke and spatter than some other processes, so replace dirty or pitted cover lenses before changing the operating shade.
Plasma cutting has different requirements because the arc and cutting current vary widely. A shade around 8 to 12 is often used, but low-current work and high-current cutting should not be treated as equivalent. Follow the plasma cutter and helmet manufacturer’s chart, particularly when using a hand torch, working close to reflective metal, or cutting for extended periods. Oxyfuel cutting and brazing use different shade guidance from arc welding, so do not reuse an arc-welding setting without checking the applicable recommendation.
How Amperage Affects Lens Shade Selection
How to choose right helmet's shade for different welding process
Amperage is one of the most useful starting points for selecting a shade. As current rises, the arc generally becomes brighter and requires more filtering. However, amperage is not the only variable. Arc length, electrode type, wire diameter, transfer mode, metal reflectivity, and the position of the weld can all affect perceived brightness. A chart may recommend a range rather than one exact number because the right choice also depends on the process and the operator’s ability to see the joint.
When moving from a low-current practice weld to a high-current production weld, recheck the shade instead of assuming the previous setting remains suitable. Reflected light from polished aluminum, stainless steel, or nearby walls can make a work area feel brighter even when the arc output has not changed. Shade selection should also account for anyone viewing the arc nearby; helpers and observers need appropriate protection, not merely a darkened lens held at a distance.
Fixed-Shade Versus Variable-Shade Lenses
A fixed-shade lens is straightforward, durable, and predictable. It can be a good choice when you perform one process at a consistent amperage, such as repeated stick welding at a defined setting. Its main limitation is convenience: the same dark shade remains in place during setup, grinding, and inspection unless the helmet is lifted or paired with another viewing method.
Recommended product
Use these catalog picks as a shortlist for how to choose the right welding helmet lens shade. Compare measurements, materials, and return terms side by side instead of buying from a photo alone.
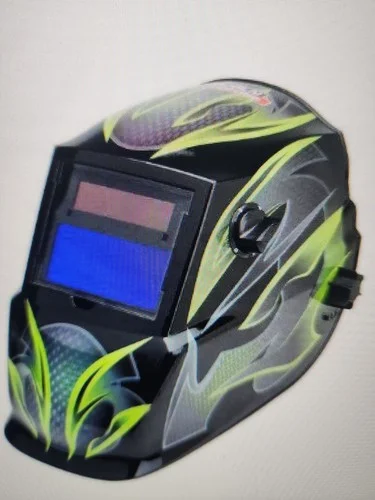

A variable-shade, or auto dark, lens changes from a light state to a selected dark state when it detects an arc. This makes it easier to position the electrode or torch before striking the arc and can reduce the need to repeatedly nod the helmet up and down. An auto darkening lens may offer separate controls for shade, sensitivity, and delay, allowing it to accommodate different processes and shop lighting conditions.
Variable lenses cost more and require functioning batteries, solar charging, and sensors. Their light-state shade, switching speed, optical clarity, viewing area, and number of sensors matter as much as the maximum dark shade. Models from brands such as Sellstrom, ESAB, and Huntsman can differ substantially by product line, so compare the actual lens specifications rather than choosing by brand name alone. A variable lens is not a substitute for selecting the correct dark-state number.
How to Test and Adjust Your Viewing Comfort Safely
Inspect the helmet before every use. Check that the shell is intact, the headgear holds the lens at the correct position, the cover lens is clean, and the filter switches or remains dark as specified. For an electronic helmet, test the battery condition and sensor response according to the instructions. Never weld with a cracked filter, a missing cover lens, a malfunctioning auto darkening lens, or a viewing window contaminated by spatter.
Set the shade within the manufacturer’s approved range before starting the arc. If the puddle is difficult to see, first improve the work light, clean the cover lens, adjust the helmet angle, and confirm that the lens is centered in front of your eyes. You can then make a small shade adjustment while the arc is off. Never look directly at an active arc to test whether a lens is dark enough, and never hold the helmet away from your face as a substitute for proper fit.
Comfort is useful only when it does not compromise protection. If you experience glare, persistent discomfort, afterimages, or difficulty seeing the joint, stop and inspect the equipment and settings. A lighter approved shade may improve visibility for some low-current work, but a darker shade may be necessary when the arc is bright or reflections are strong. If the helmet cannot provide both adequate protection and usable visibility, replace it or select a model with better optical quality, a larger viewing area, or a more suitable shade range.
How to Compare Catalog Picks
When comparing a single catalog pick with alternatives, weigh its shade range, optical clarity, viewing area, switching controls, sensor layout, power source, replacement parts, and certification markings. The main advantage of a variable model is flexibility across MIG, TIG, stick, and cutting tasks; the tradeoff is greater dependence on batteries and electronics. A fixed lens may offer simplicity and lower cost, but it is less convenient when your work involves frequent process or amperage changes. Choose the specification that matches your actual work rather than paying for features you will not use.
FAQ: How to Choose the Right Welding Helmet Lens Shade
What shade should I use for MIG welding?+
The right MIG welding helmet shade depends mainly on amperage, wire type, and whether you are using solid wire or flux-cored wire. Check the lens manufacturer’s shade chart and start with the recommended range for your current, then choose the darkest setting that still gives you a clear view of the weld area.
What lens shade is best for TIG welding?+
TIG welding often requires a darker shade as amperage increases, especially when welding aluminum or using higher currents. Use the helmet manufacturer’s TIG recommendations for your amperage, and select a variable-shade lens if you regularly switch between low- and high-amperage work.
How does amperage affect welding helmet shade selection?+
Higher welding amperage generally requires a darker lens shade, while lower amperage can use a lighter shade within the recommended range. Always match the shade to the welding process and amperage chart rather than choosing based on brightness alone.
Are variable-shade welding helmets better than fixed-shade helmets?+
Variable-shade welding helmets are useful when you work with different processes or amperage settings because the shade can be adjusted without changing the lens. Fixed-shade helmets can be practical for consistent work at one process and amperage, provided the shade matches the recommended setting.
How can I test whether my welding helmet shade is comfortable and safe?+
Before welding, set the lens to the recommended shade for your process and amperage, then check that you can clearly see the joint without squinting or removing the helmet. If the view is too dark, too bright, or difficult to focus on, stop and adjust the settings or improve the lighting; never use a lighter shade than the manufacturer’s recommendation.